
How I made a production-quality video using Claude, ElevenLabs, and Google Flow.
Claude writes the script. ElevenLabs voices it. Google Flow produces it. 10x faster. 10x cheaper.

A few years ago, explainer videos meant time and money.
Hire scriptwriters. Find voice artists. Sort out licensing.
Now the stack looks different.
I created a video for a company called CateringRewards. This letter breaks down the tools, the process, and what to watch out for, so you can do the same.
Step 1: Ideation and Script
The ICP was clear.
Restaurant owners.
General managers.
Catering leads.
Marketing heads.
Folks running high revenue restaurant brands but constantly fighting one painful reality.
Losing margins to marketplaces.
A large catering order might look like a win. Until marketplace commissions, platform fees, and incentives quietly eat into the profit.
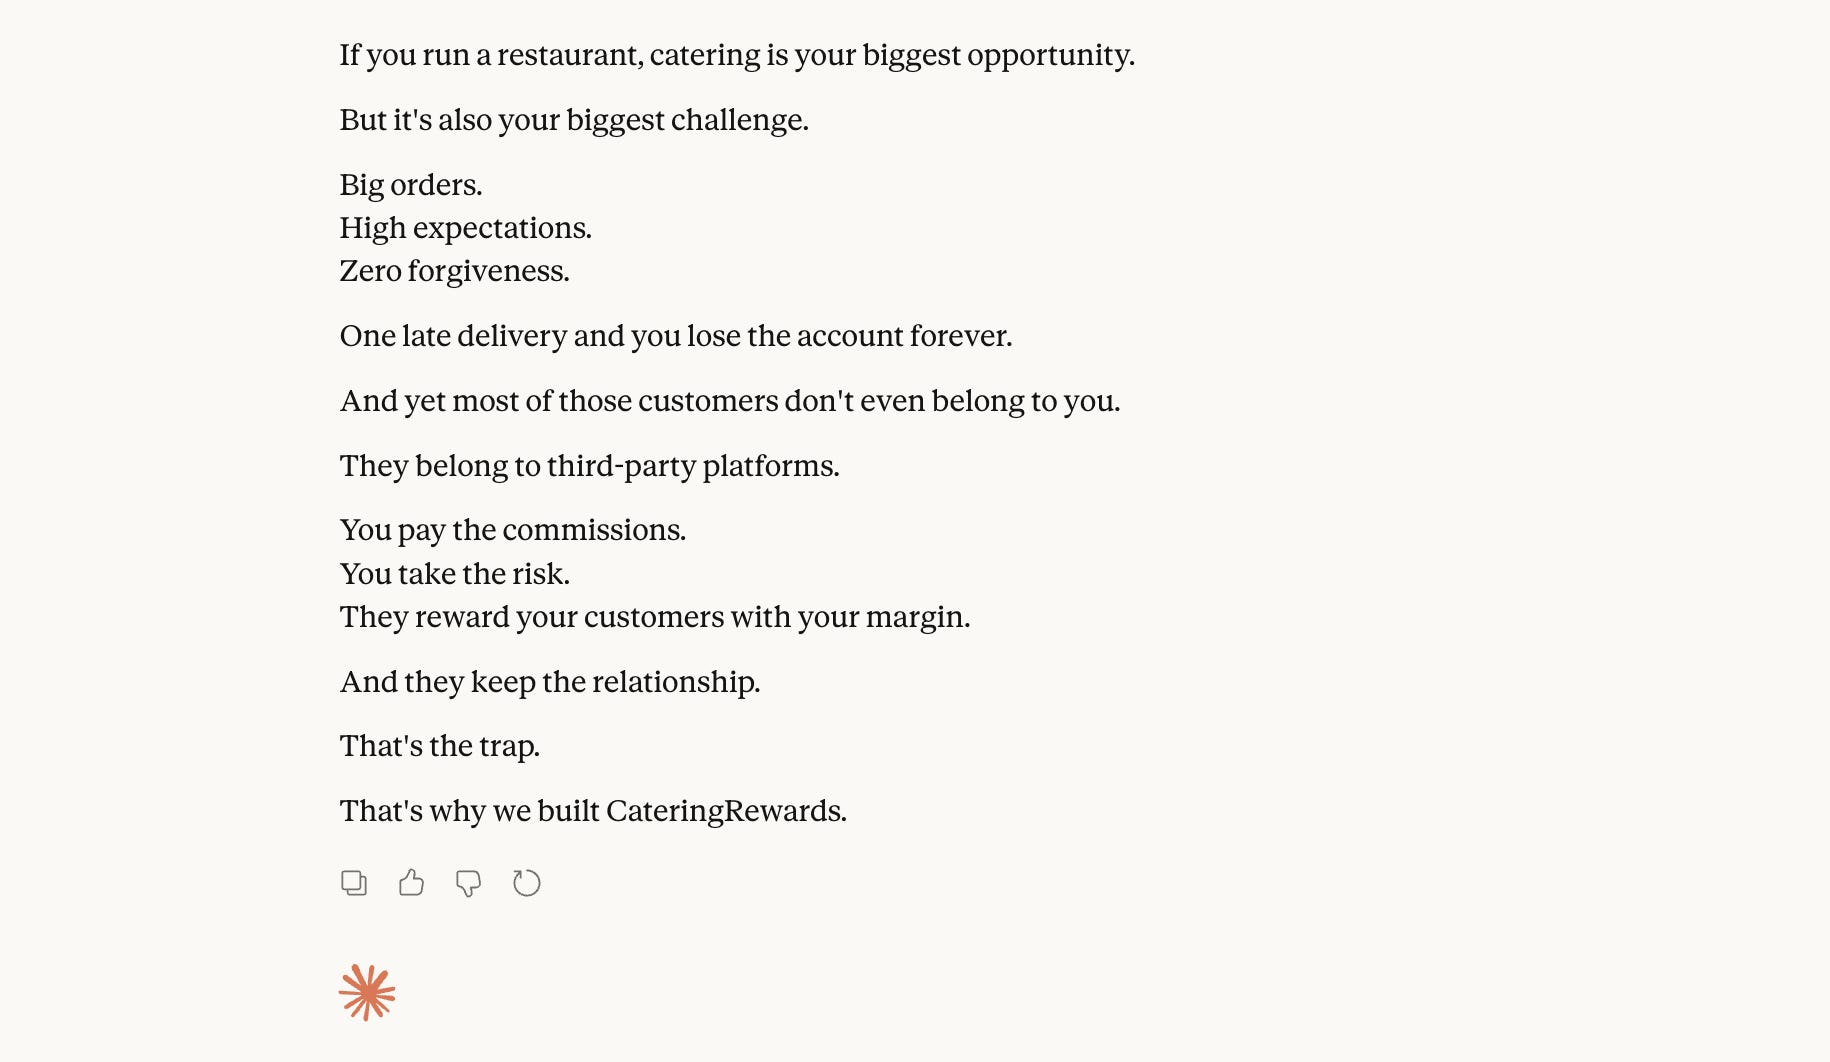
That pain became the starting point of the script.
Restaurants lose margin while marketplaces keep the customer relationship.
That tension became the narrative.
[IMP] Narrative comes before the script.
For writing the script, I used Claude with a custom scriptwriter skill that understands how to structure explainer videos.
The focus was simple: strong hooks, tight pacing, and clear storytelling.
The script followed a simple structure:
Hook → Problem → Agitation → Solution
First capture attention.
Then highlight the pain.
Push the tension slightly deeper.
Finally, introduce the shift.
This is also where the most iteration happens.
If you notice closely, most lines break quickly. This is intentional.
Short beats make the narration easier to follow, keep the viewer engaged, and allow the visuals to change frequently.
In practice, that pacing becomes extremely useful later when prompting Google Flow, because each beat in the script can map directly to a visual scene.
In other words, the way the script is written determines how smooth the video generation process will be.
But before moving to the next step, there’s one rule that saves a lot of pain.
Lock the script.
It’s okay to go a little back and forth.
But tweaking later = 🔥💰
Earlier that meant paying voiceover artists and editors for every revision.
Now it means burning credits on ElevenLabs and Google Flow.
Same problem. Different mechanisms.
Still costs money.
So lock the script first.
Step 2: Music and Voiceover
Before visuals come two things that shape the feel of the video.
Music and the voice.
We decided early that the video needed upbeat, punchy music to keep the energy moving.
And here’s the wild part.
The music wasn’t stock.
It was generated from a prompt.
3 years ago that sentence would have sounded ridiculous.
Today it’s just another step in the workflow.
For this, ElevenLabs is easily the best tool out there right now.
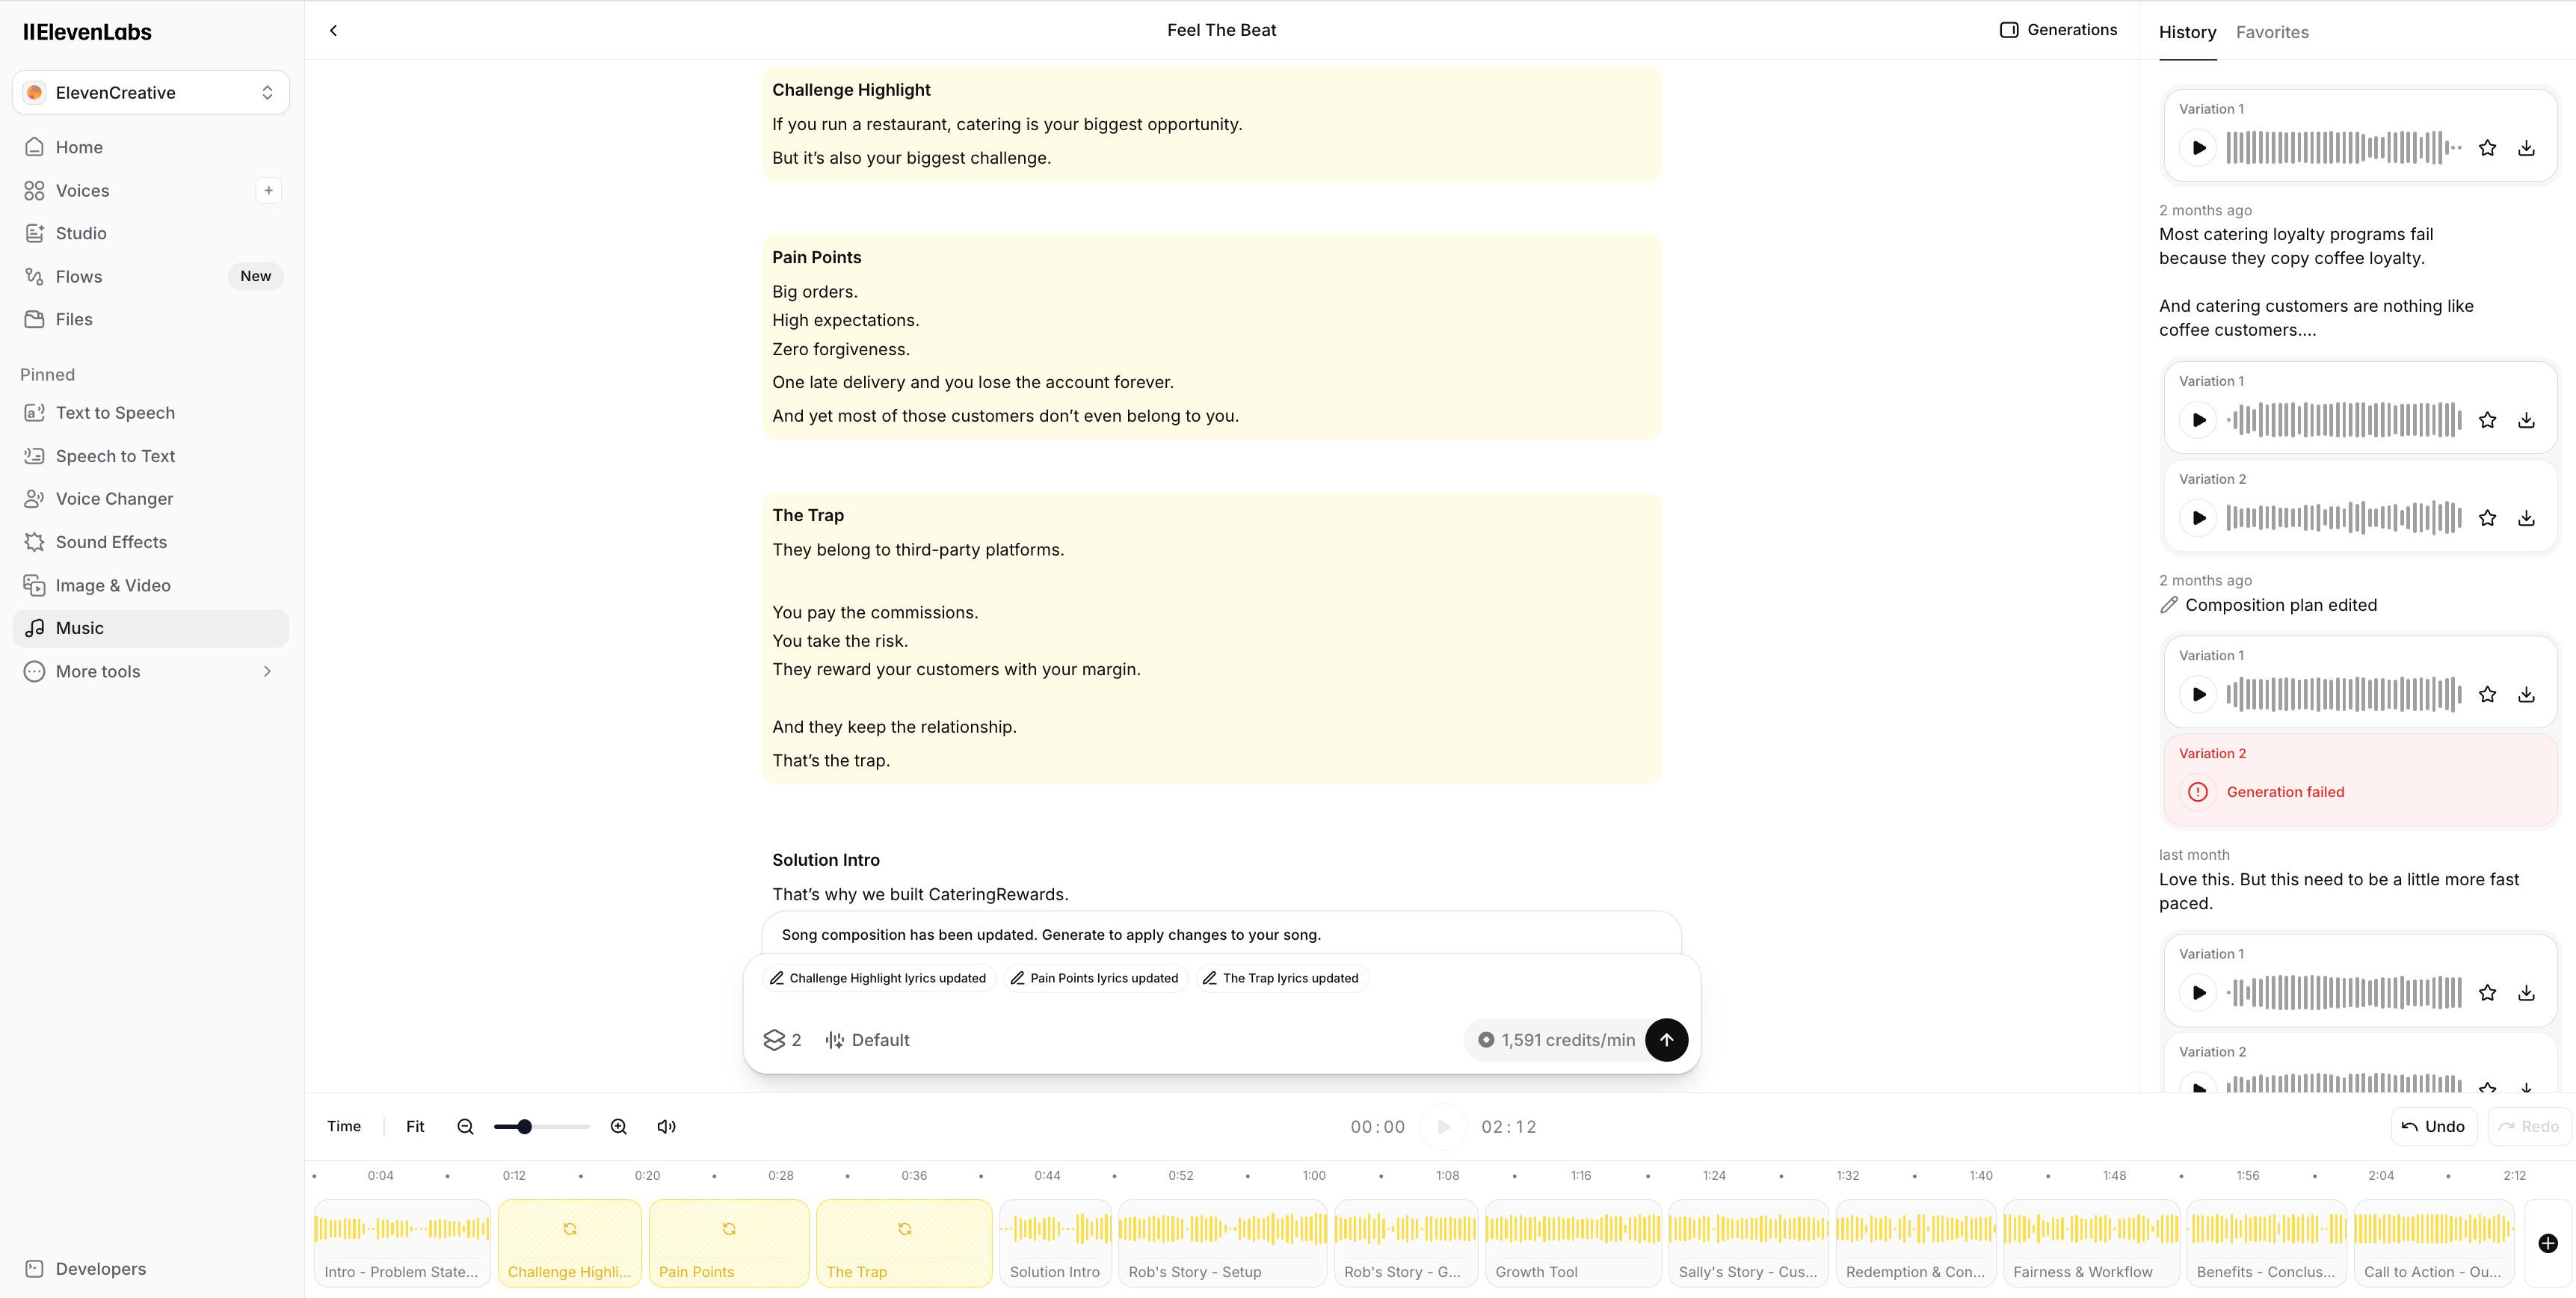
This track the backbone of the entire video.
Next came the narrator.
For this, ElevenLabs lets you filter voices by accent, gender, age, tone, and style.
After trying a few variations, I chose Jason - modern, energetic, and direct.

Perfect fit for an explainer video.
Overall, it felt smooth.
And once the narration was locked, the script officially had a voice.
Now it was time to turn that script into scenes.
Step 3: Prompts to Production
For this step, I used Google Flow.
Do not write prompts directly inside Flow.
💡 Use Claude/ChatGPT/Gemini to generate detailed prompts first. These are far better at structuring visual descriptions than writing them manually.
You need to think like a director.
What does the person look like?
What kind of background are they in?
What’s the camera angle?
What’s the lighting like?
Is it a close-up shot or a wide frame?
And the more descriptive the prompt, the better the output.
This is an actual prompt for which the below output generatedA middle-aged American restaurant owner in a busy, stainless-steel commercial kitchen. He looks stressed, holding a large catering tray. Green and white brand accents on his apron. Realistic, bustling American restaurant atmosphere.
The best results come when you are very specific about the scene.
Otherwise, it will assume the scene.
Google Flow has real limitations. Here's what to expect.
1. Output quality is inconsistent. Expect hallucinations, broken transitions, and clips that are just... off. You’ll sift through a lot to find the 3–5 seconds that actually work.
2.It burns through credits fast. Many generations won’t be usable, so factor that into your budget before you start.
3. Flow still can't stitch clips together into a complete video. It's a generation tool, not an editing one.
💡 The ideal way to approach this would be to first create an image with color grading on Google Nano Banana, and then use that image to convert into a video.
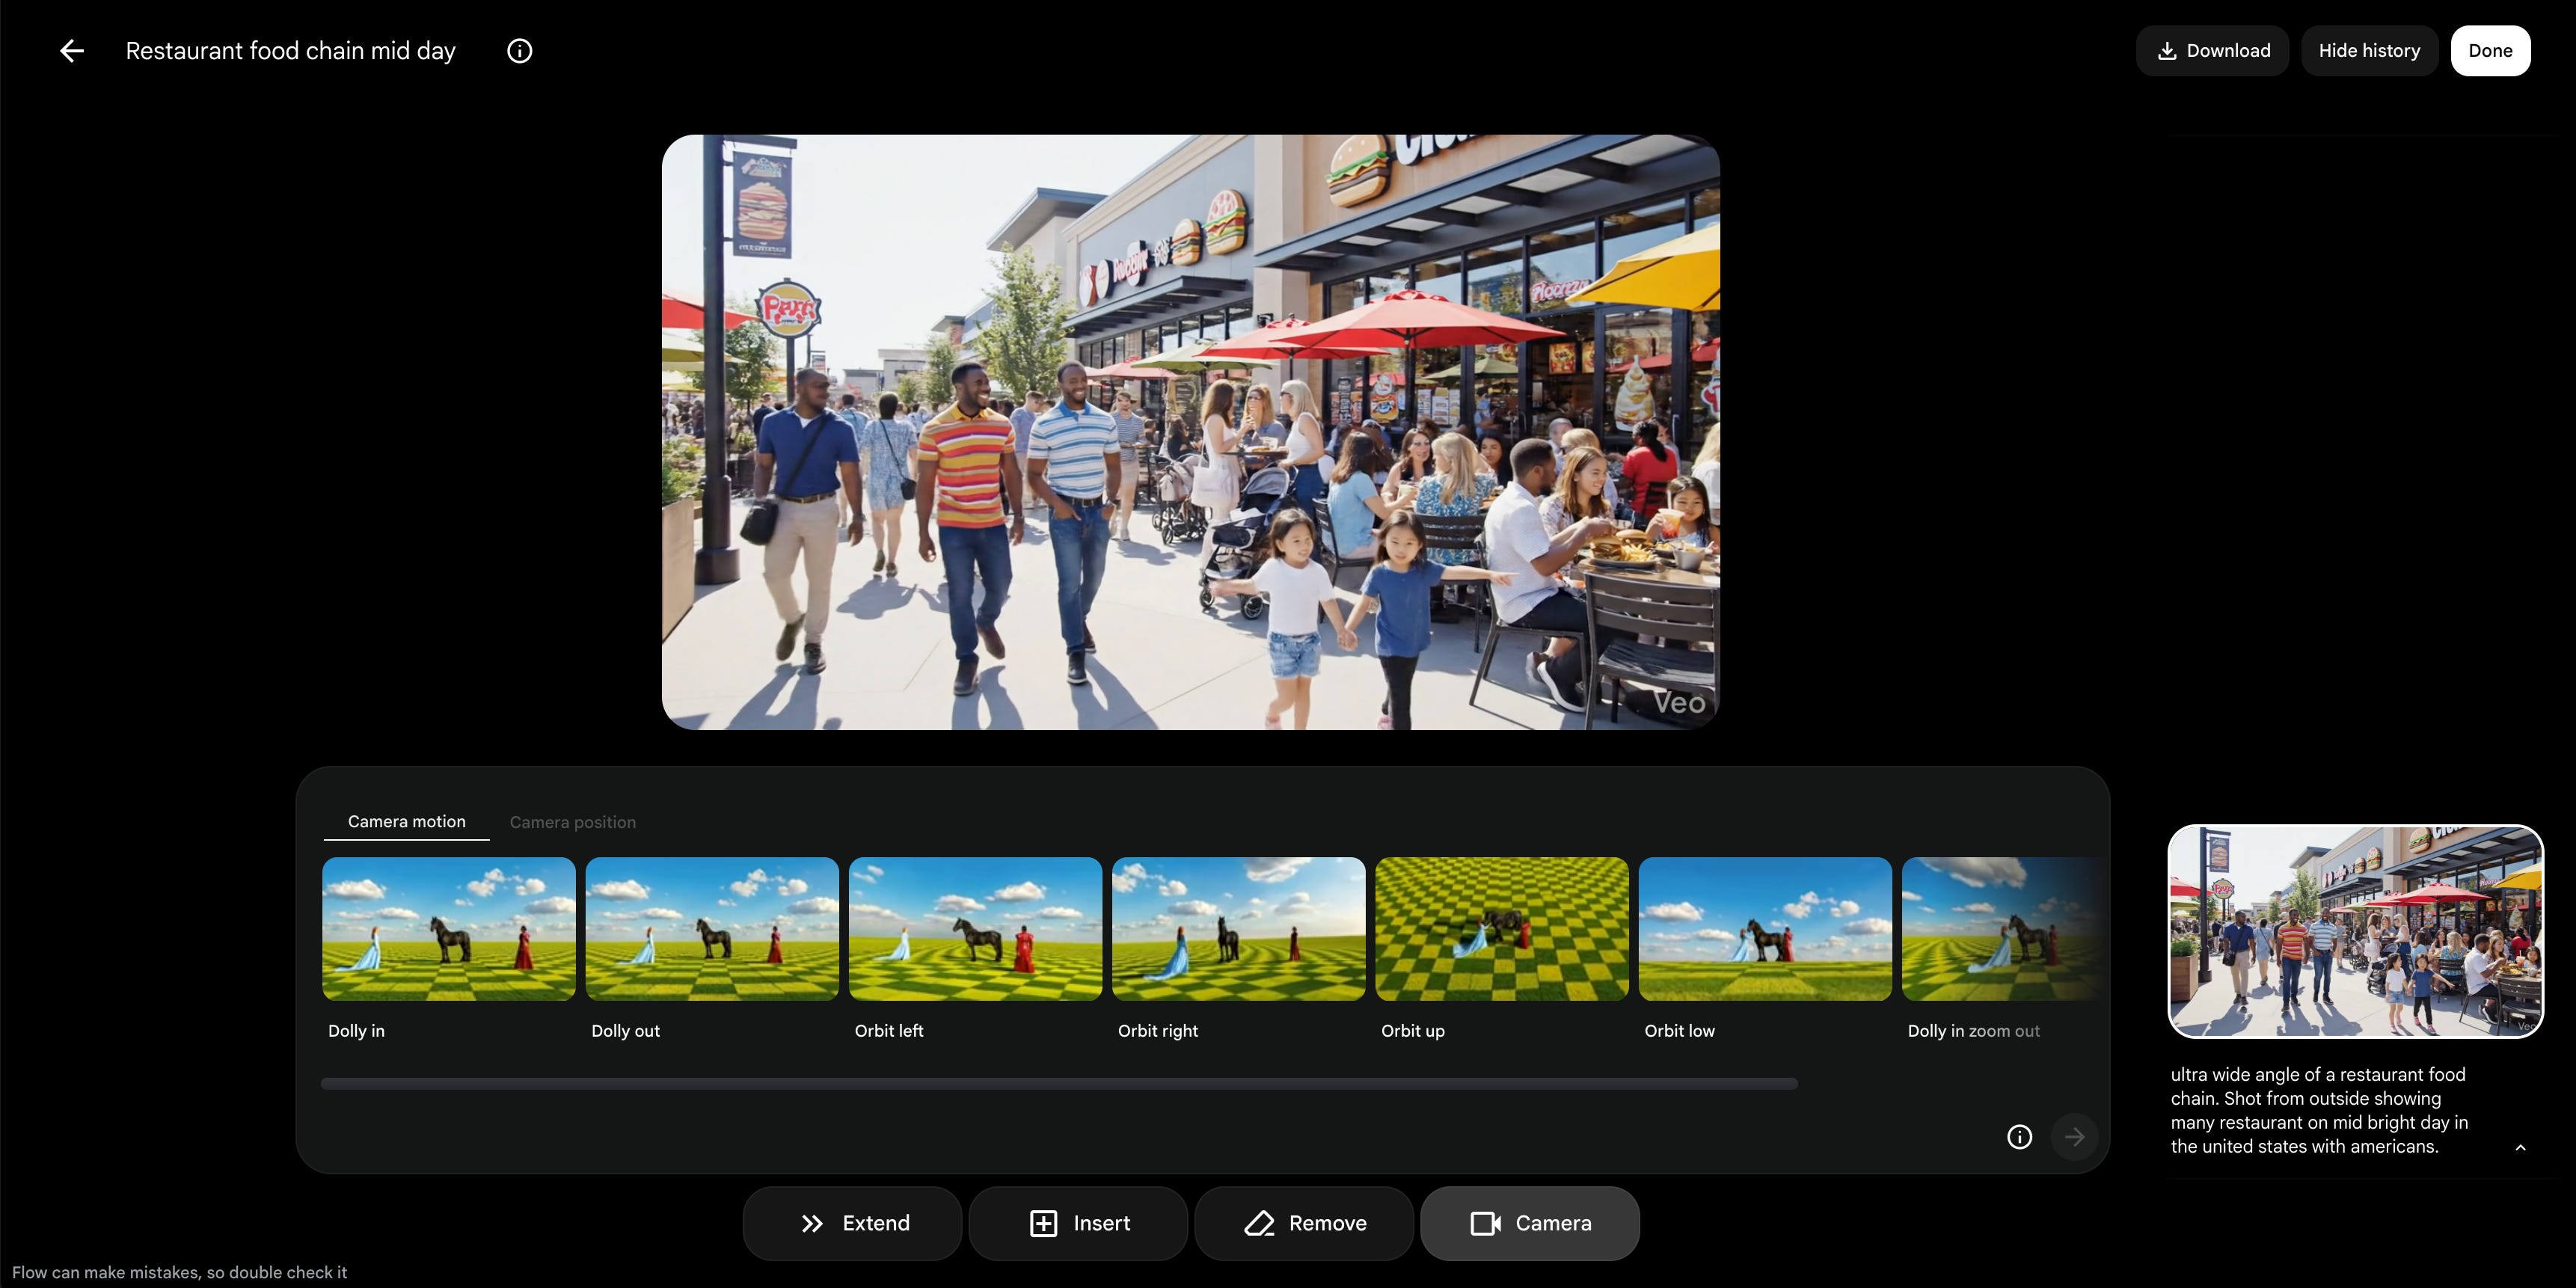
Google Flow has one standout feature: camera angles.
It’s great for storytelling. A wide-angle shot establishes the scene and context. A close-up draws attention to the details. Flow handles this well.
Step 4: Editing - Stitching the Pieces Together
Once the scenes are ready, everything needs to come together.
Music. Voiceover. Clips. Transitions.
I’m a bit old school here.
So I used Adobe Premiere Pro. (Final Cut Pro, CapCut are a few other options)
The process itself is straightforward.
Trim the clips with the blade tool.
Align them with the voiceover.
Add transitions where the scene shifts.
Drop in the product screens where needed.
Most of the heavy lifting is already done by this point.
Editing is mostly about tightening the flow.
Here’s a feature in Premiere that helped a lot.
It’s called Remix.
Let’s say your final video comes to 1 minute 50 seconds. Normally that means manually trimming the background music so it fits the runtime.
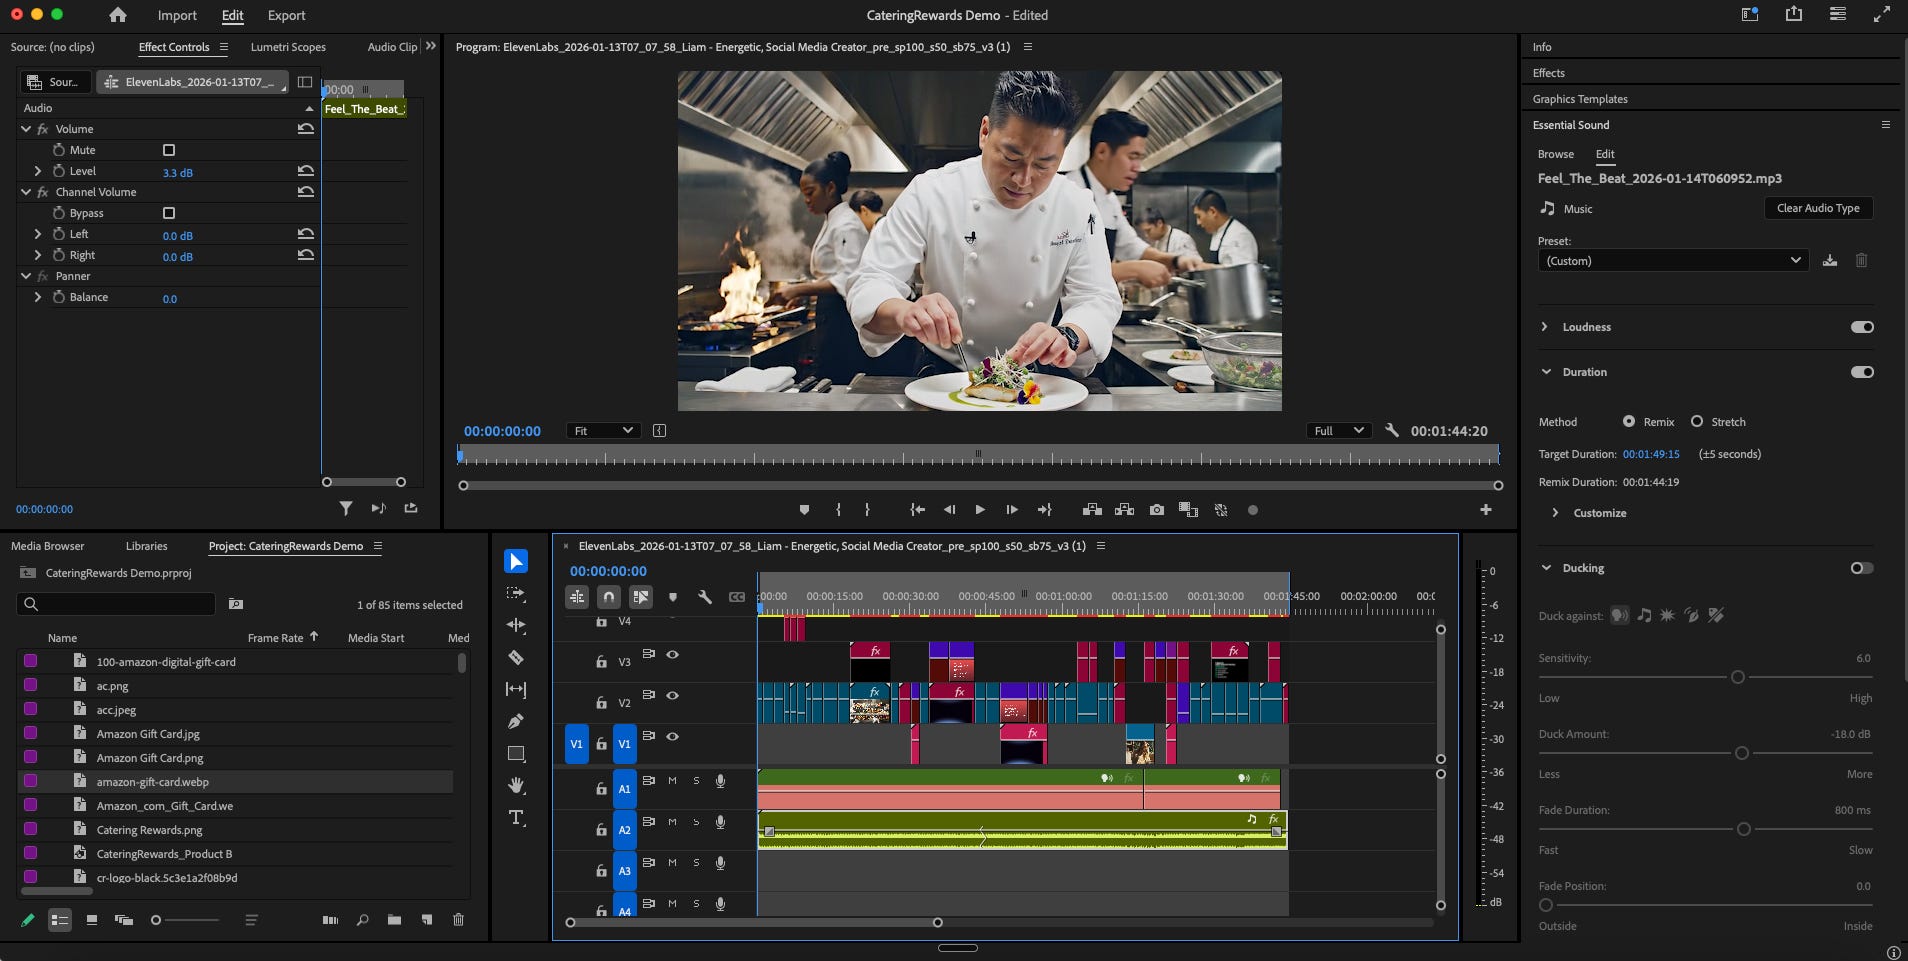
With Remix, Premiere automatically adjusts the entire music track to match the length of the video.
No awkward cuts.
No sudden fade-outs.
It just fits.
And honestly, good editing is often the difference between a video that feels polished and one that feels rough.
Even with AI doing most of the work, the final assembly still matters.
One missing piece is sound design.
Adding the right sound effects, adjusting the background score, and using audio to elevate the video overall. That’s something I’m still learning and plan to work on for the next one.
What Did It Cost?
Here’s the rough stack behind the video:
Claude: ~$20
Adobe Premiere Pro: ~$25
Google Flow via Gemini: ~$20
ElevenLabs: ~$20
Total: around $85
Now technically, that isn’t the true cost of the video.
For two reasons.
First, I already use tools like Claude, Gemini, and Adobe for multiple workflows. This video was just one small use case.
Second, the only tool I really used specifically for this video was ElevenLabs.
But even if you look at the entire stack together, the math is still impressive.
A (decent) production-quality video.
Most importantly, cut through the review and revision cycles, this entire video was done in under 2 days. Total hours, start to finish.
Enough theory.
Here’s the output.
Yours Promptly,
Manu