
8 Vibe Coding Tips to Save Credits on Lovable
From Plan Mode to Visual Editor: how to stop wasting credits when vibe coding.

I have spent way too much time vibe coding on Lovable lately.
Built an AI tools directory, an SERP preview tool, an Responsive Search Ad preview tool, a landing page template, a portfolio site and a lot more.
All using just prompts.
Tools that used to need dev resources, dependency management, responsiveness fixes, and three sprint cycles are now a few prompts away from going live.
ROI calculators. Portfolio websites. Subject line testers. Custom reports for ABM.
None of these belong in a sprint anymore. They belong in a Friday afternoon.
The vibe coding process is genuinely fun.
You describe what you want, throw in a screenshot, and watch it come to life. For someone with no dev background, that feeling does not get old.
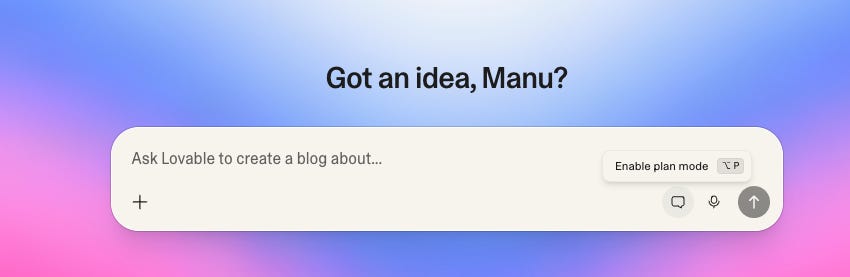
Dictating prompts instead of typing them is low-key one of the best things about the whole experience.
But here is the catch. Credits run out fast. Way faster than you think.
And before you know it, you have burned through half your monthly balance and you are not even done with one tool.
The good news: most of it is avoidable. Here are 8 tips that actually help.
1. Start with plan mode. Save time. Save credits.
Before Lovable writes a single line of code, Plan Mode shows you exactly what it is about to build. You can review the structure, push back on it, refine it, and only approve it when it looks right.
Plan Mode forces a back and forth between you and Lovable about what the project actually is before anything gets built. That conversation upfront saves a lot of confusion later. The more clearly Lovable understands what you want, the less it improvises.
Think of it as the 5 minutes that saves you 50.
Here’s a sample of a brief:
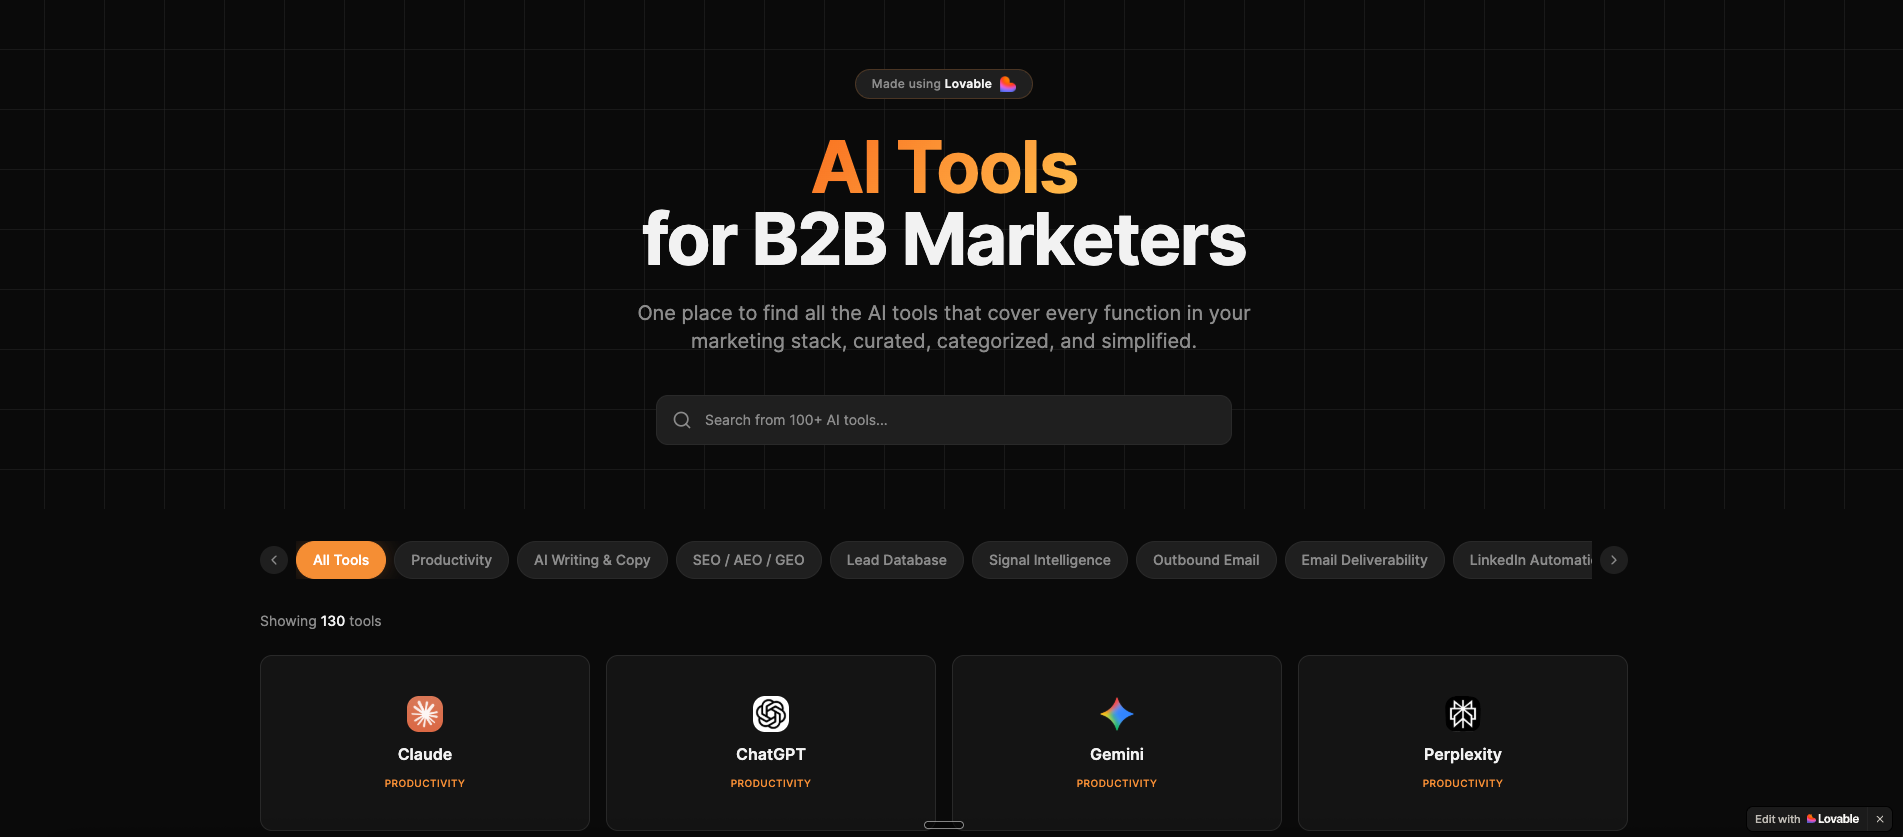
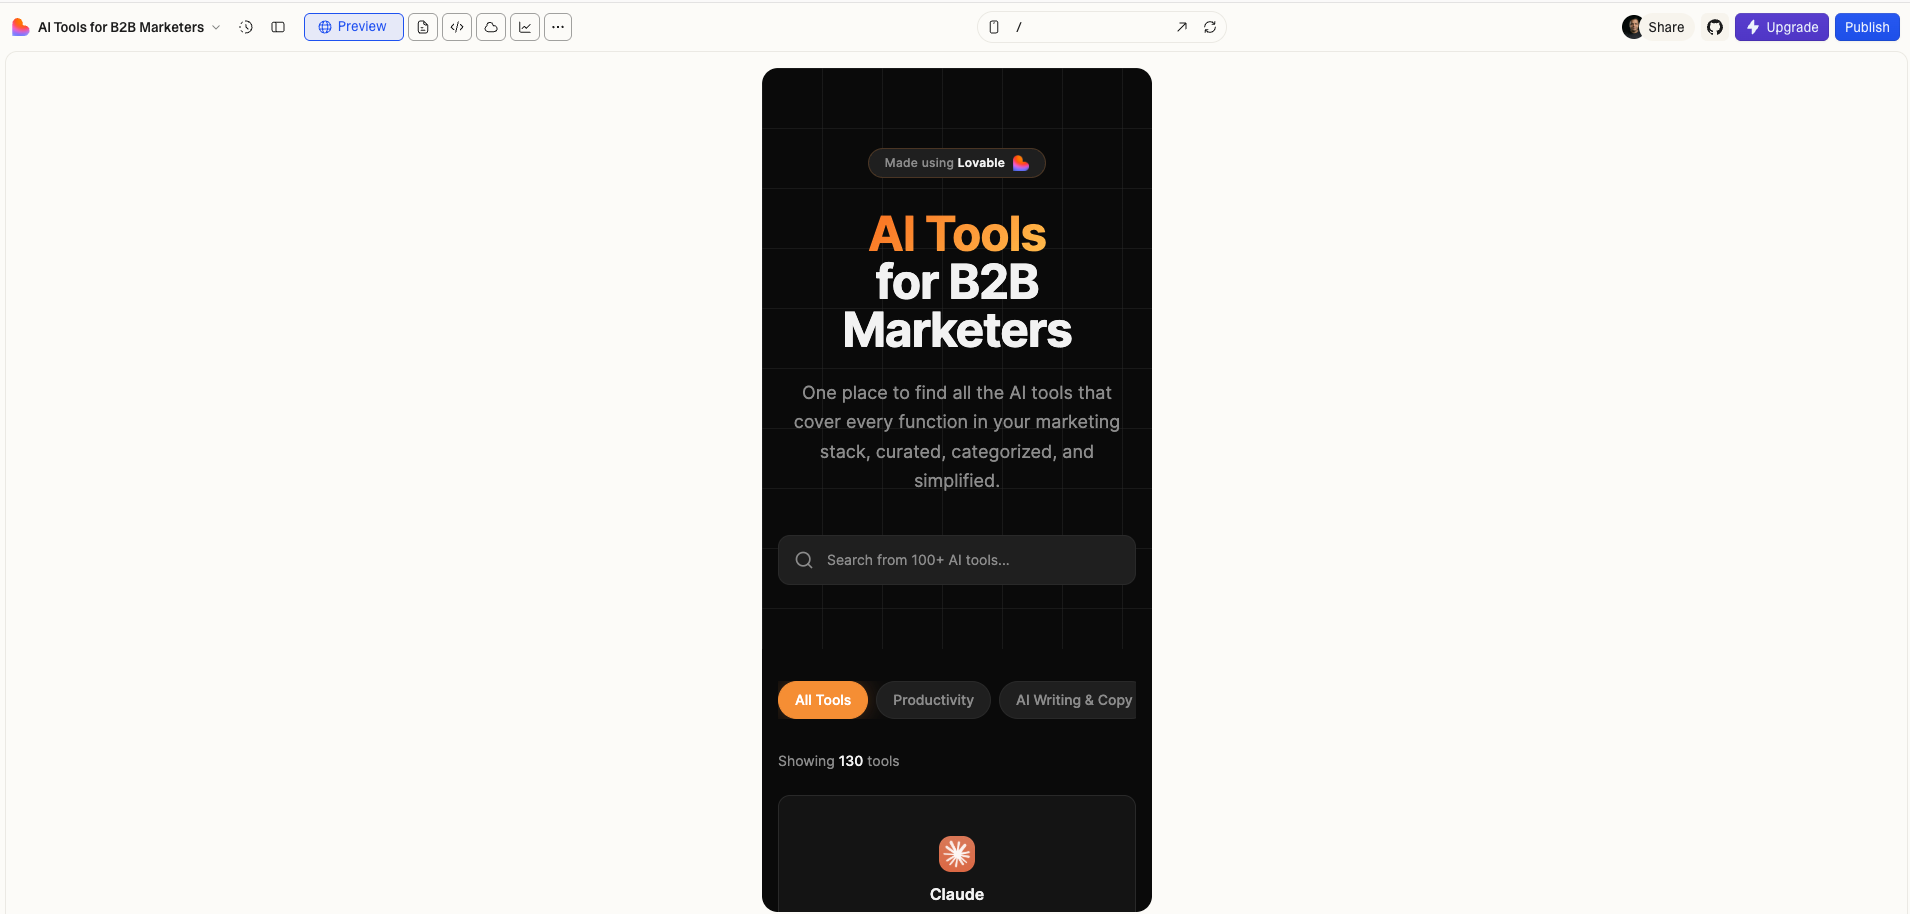
Project: AI Tools Directory for B2B Marketers
What to build: A searchable, filterable directory of AI tools for B2B marketers. Each tool card shows the tool name, logo/icon, category badge, and a short description. Users can browse all tools, filter by category (e.g. Productivity, AI Writing & Copy, SEO/AEO/GEO, Lead Database, Signal Intelligence, Outbound Email, Email Deliverability, LinkedIn Automation, ABM, Video & Podcast, Analytics), and search by keyword.
Brand guidelines: Dark theme. Inter font. White for primary text, Orange for secondary.
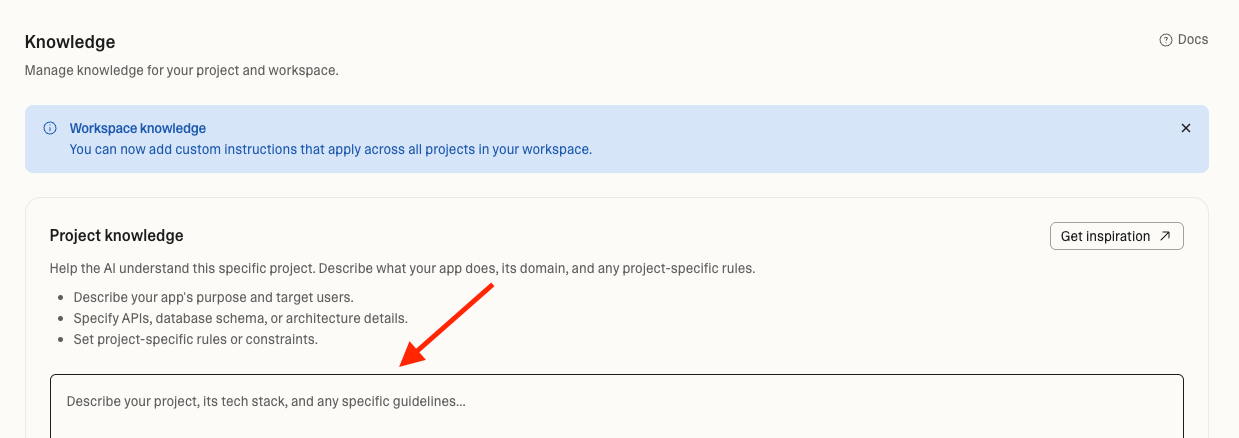
2. Set up Knowledge
If you already have a sense of your brand voice, ICP, fonts, colour schemes, or design style, set those up in Knowledge before you start building. You can do this at the project level for tool-specific instructions, or at the workspace level if these guidelines apply across everything you build.
3. Switch to Chat Mode before debugging
Chat Mode does not touch your code. It costs one credit flat.
Use it to diagnose before you fix. Ask Lovable to analyse the error, identify the root cause, and explain what is happening. Then switch to build mode with a clear picture of what is actually broken.
Blind fixes are the most expensive thing you can do in Lovable. You prompt, it tries something, it breaks something else, you prompt again. The balance drains fast.
3. Off-Platform Brainstorming
Credits burn when you use Lovable as a whiteboard. Every message you send to figure out what you want to build is a credit spent on thinking, not building. Draft your instructions in Claude or ChatGPT first. Iterate there for free. Refine until the prompt is clear, specific, and ready. Then paste the finalised version into Lovable.
When I was building the AI Tools Directory for B2B marketers, I did not add tool descriptions one by one. That would have taken forever and cost a fortune in credits.
Instead I used Claude to generate a full repository of tools with all the relevant fields. Spent some time reviewing and refining it. Then handed the file to Lovable. In a matter of minutes, the entire directory was populated.
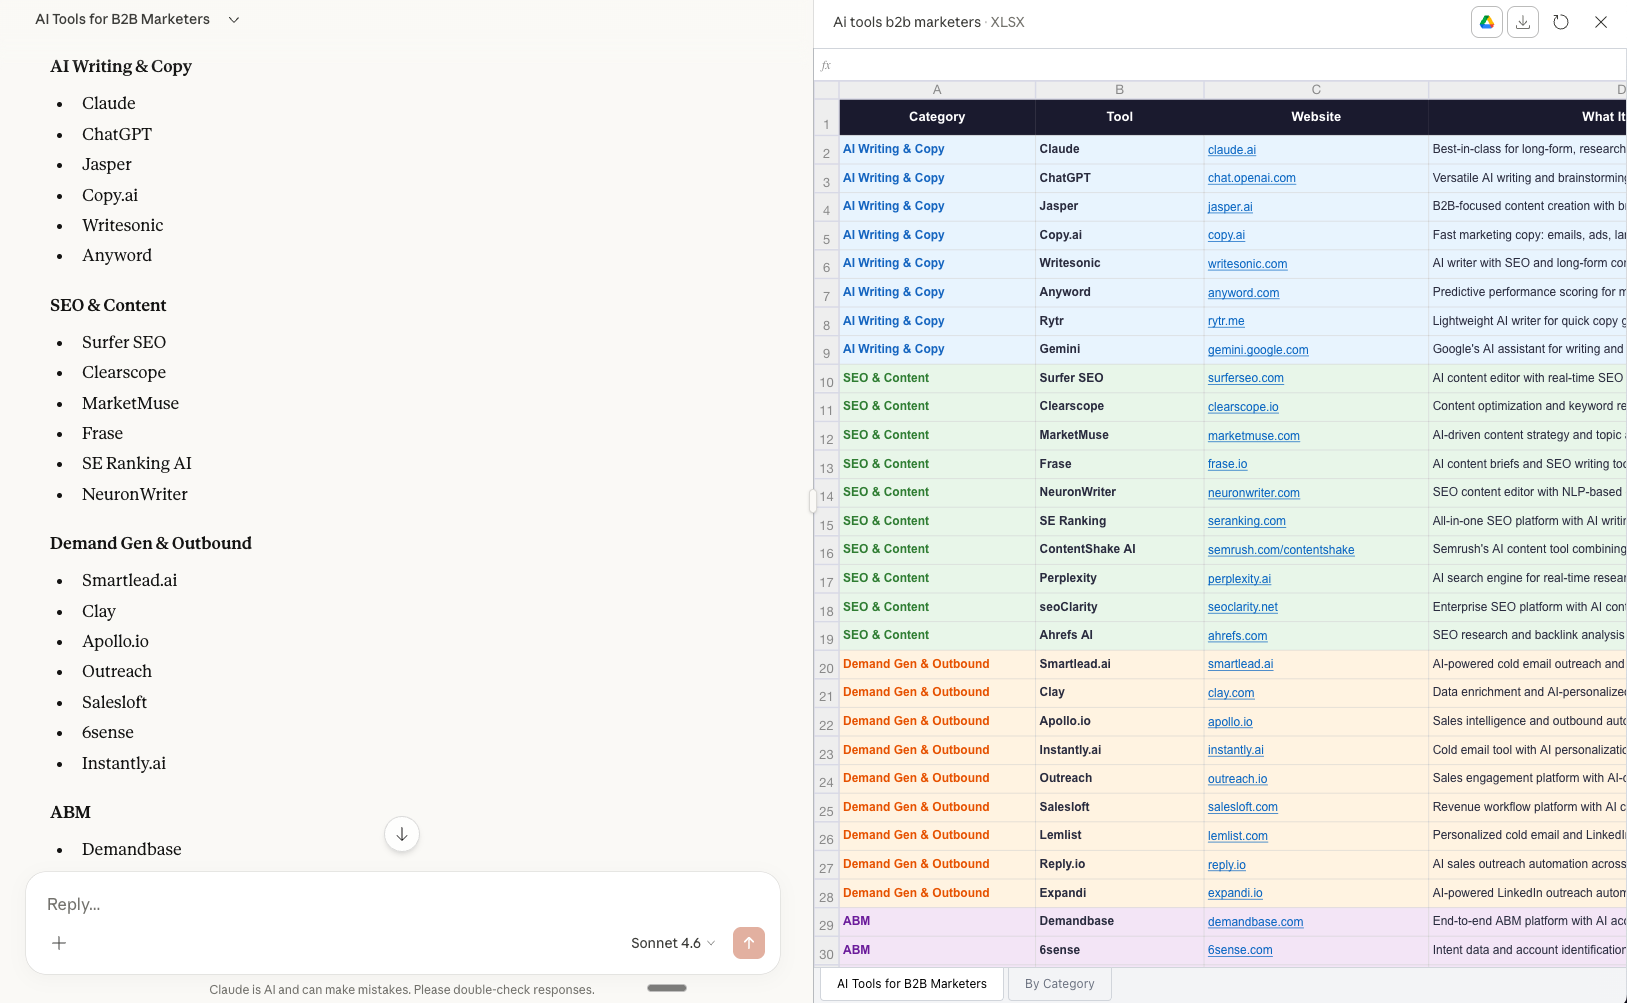
It even used the Clearbit API to pull in logos automatically. Some were off and I had to upload those manually, but honestly, uploading one Excel file and watching hundreds of tool names, descriptions, logos, and links populate in minutes is nothing less than magic.
4. Batch your prompts
Lovable has a prompt queue. While it is working on one instruction, you can keep stacking the next ones. You can reorder them, pause the queue, and come back to meaningful progress instead of watching a spinner.
Batch the work. Let it run.
5. Use the Visual Editor for cosmetic tweaks
Lovable has a visual editor that works like a lightweight Figma. Click any element in the live preview and adjust spacing, colour, or sizing directly. Changes appear instantly. No prompt needed.
Use the visual editor for anything cosmetic. Button colours, padding, font sizes, layout spacing. Click it, fix it, move on. You can even hold Cmd and select multiple elements.
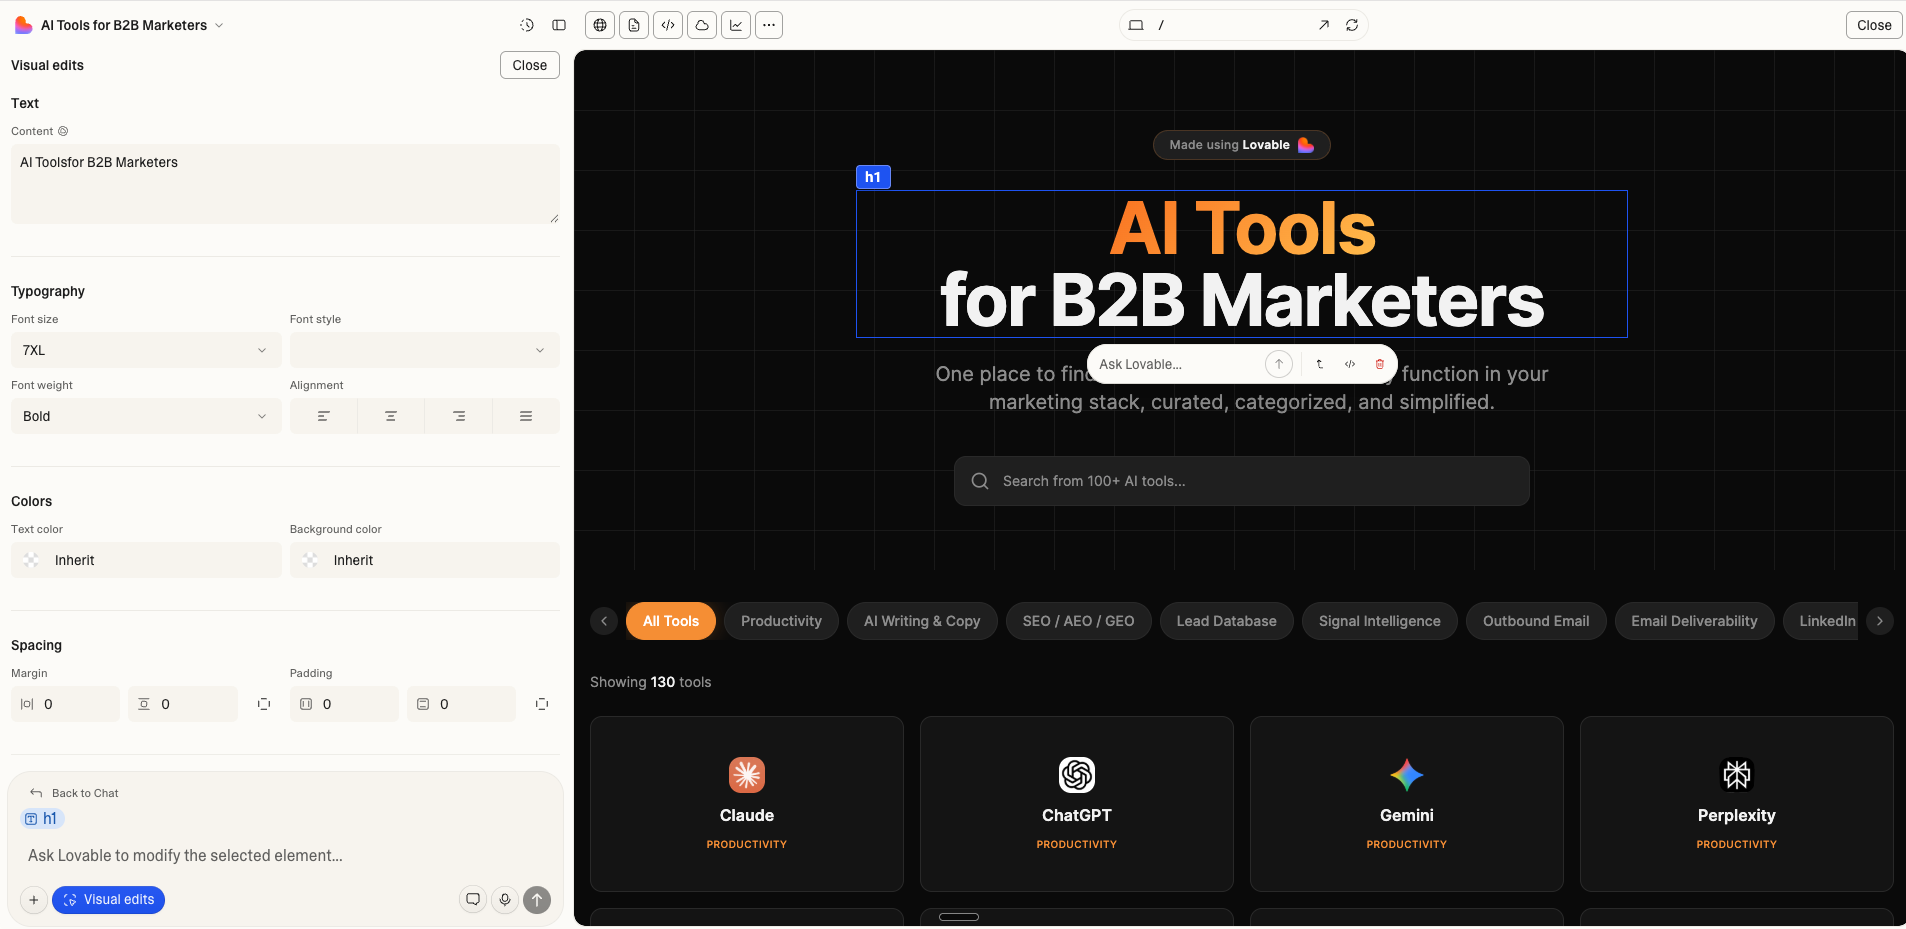
You save credits. And you avoid breaking things you never intended to touch.
6. Try to Fix doesn't cost credits
Good news: when Lovable flags an error, the “Try to Fix” button does not count against your credits.
Use it every time. Give it up to three attempts on the same error before you write a new prompt. It fixes more than you expect.
If it is still not resolved, here is a simple flow that works. Copy the error. Paste it into Chat Mode. Ask Lovable to identify the root cause. Once you understand what is actually broken, switch back to build mode and fix it.
8. Build mobile first from the start
This is not just a design tip. It is a credit tip.
Build everything on desktop first and mobile responsiveness becomes a problem you fix at the end. That fix costs credits. A lot of them.
Tell Lovable to build mobile-first from your very first prompt.
One instruction at the start saves you many later.
If you only want to make changes on the mobile version without touching the desktop layout, you can do that too.
A few years ago, building a live marketing tool meant a dev ticket, a sprint, a review, and a wait. Now it means a weekend and some prompts.
That shift is genuinely hard to put into words until you feel it yourself.
Happy vibing.
Yours promptly,
Manu